Wednesday, April 24, 2013

Ladybug Eggs

Despite the fantastic weather, I haven't made much time to work in my garden -- but my seven-year-old son found these ladybug eggs on our Japanese maple tree.

Wednesday, April 3, 2013

Cleaning up the Crabapple Tree

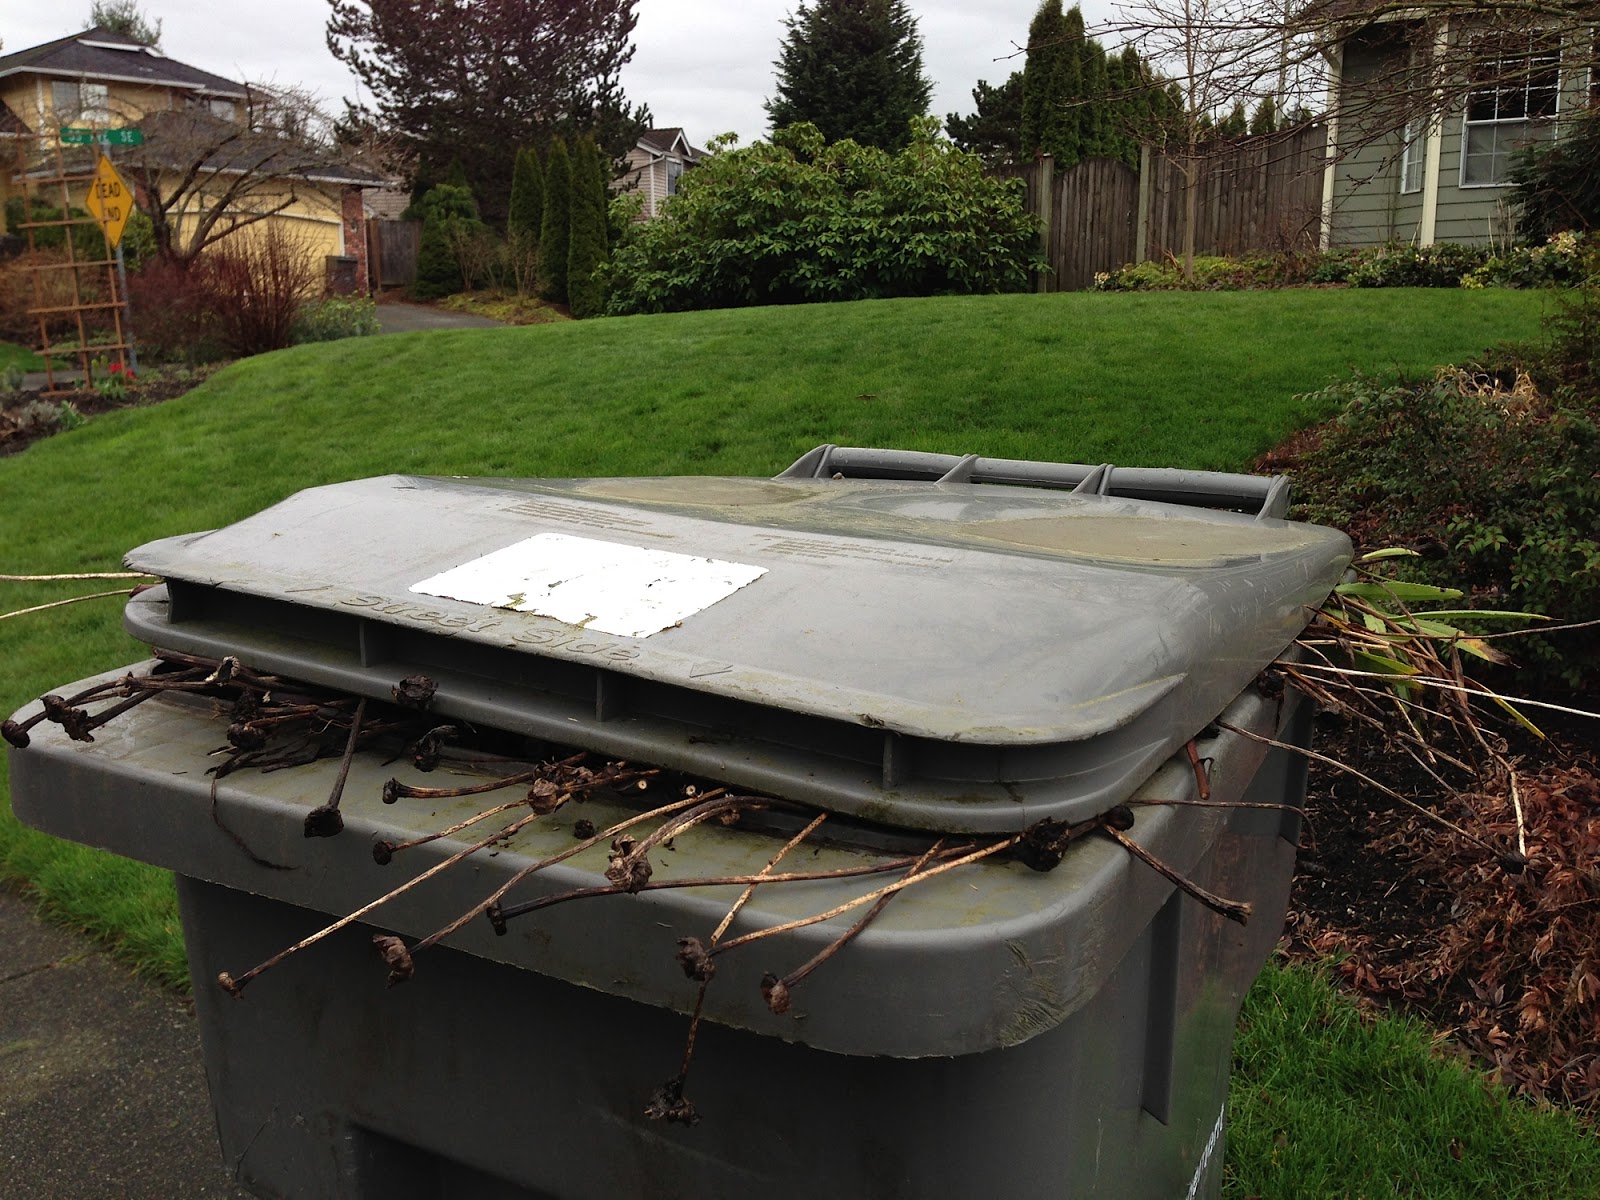
We had 4 glorious days of sunny summer weather over the weekend and I didn't even spend 15 minutes in the garden.  I was too busy with other things.  Well, the clouds have returned but I finally have time for my garden.  I got lucky to find a sunny patch of the day to tackle a needed pruning of my crabapple tree.

An arborist told me I could invigorate the elderly ornamental in its battle against moss by removing the base sprouts often.  You can see that I waited a while between prunings this time as some of the stems are nearly three feet tall.
Before I got started on the tree itself, I pulled out all the miscellaneous weeds at its base.  There was a lot of dandelion and the weed below.  I don't know its name.
Then I got to business clipping of the sprout stems as close to their origins as possible.  If you clip them too high, they host multiple new sprouts in a few weeks.

To get this done in 15 minutes, I had to work at a fast pace.  It was a bit like Boot Camp but it didn't last as long.  I must say I am looking forward to when I can spend some leisurely time in the yard.  But that wasn't today.  In the end I had a bucket of weeds and a pile of stems for the yard waste bin.
 And a spruced up tree for spring.

Thursday, March 14, 2013

Making Quick Work of Weeds

One way to make quick work of weeds is to identify and target problem areas and ignore the rest (they will become the problem on another day.)

That is what I did yesterday while pruning the wildflower bed that lines the fence at the edge of my property.  I clipped stalks and took note of unruly plants that might be trouble in the bed.

Another step in making quick work of weeding, especially if you have limited experience like myself, is to verify that what you see is what you think it is.  Which is also something I did yesterday.  I clipped with my shears and snapped pics with my phone.  And later when I had a few minutes, I sent the pictures off to Seattle Tilth's garden hotline.

And they got back to me.

Nothing I photographed was actually a weed.  My weeding project over and done without a minute in the garden.  

And now I can look forward to the following lovelies blooming over the next few weeks:

Arabis is a spring bloomer and a common plant in rockeries.  I was worried it would overtake my daisies but it turns out Arabis could be an ally instead.
Forget-me-knot is a weed to some, an wildflower to others.  If it gets too aggressive, I can pull it before it goes to seed to make room for other plants.
Columbine is a wildflower -- the reason I planted the bed.  I mistook it for a geranium and worried over whether it was the good or bad kind.  The smothering kind grows in my strawberries -- I will have to take a closer look so I can distinguish the two.  I can look forward to it blooming this spring and summer.


Wednesday, March 13, 2013

I am back....

I changed the name of the blog to reflect the true nature of my efforts.  So much is keeping me so busy -- but I don't want to give my gardening up.

Today I sent myself outside for just 5 minutes to clean up my "weed bed."  I took down all the tall stalks from last year's wildflowers now that new growth is emerging.  After a mild winter there are enough things blooming elsewhere for birds to feed on -- so I can go back to pleasing my neighbors....

My five minutes took a half hour and gave me a sense of accomplishment.  Tomorrow's yard waste bin will go out full.

I also have a few things to add to my list of things to do:

  1. Slug and snail management.  I found at least 10 and I wasn't even looking! I figure now is the time to thin the population so that in a couple of months the strawberries on the other side of the fence won't face incoming hordes.
  2. Weed management.  Basically I have to re-educate myself on what is a weed and what is a wildflower.  Technically, the wildflower is the wanted one.  I just can't remember which plants are garden pests.  Now that the ground has turned green with sprouts, I should figure out which plants are on my eviction list so I can get them out before they get big, or heavens forbid, flower.
  3. Edible seeding.  I need to get started.  Nature isn't waiting, so neither should I....
Now, which will get my efforts when I find another 15 minutes of free time?  Stay tuned and find out.

Wednesday, August 25, 2010

Cutting my loses

Yesterday I reduced my tomato crop by 1/4 (I only have 8 plants so I took 2 out.)  They hadn't produced any fruit yet (not even the green kind.)  I figured they couldn't produce fruit in what remains of the season and were only sucking up precious resources from the containers they were planted in.  Hopefully the existing green tomatoes will ripen soon.
Today I hope to thin out my squashes for the same reason -- better to get some crop with fewer than no crop with many. 

My garden has been largely overlooked lately.  It has lost the fight against young kids, camps, camping, and houseguests.  But as little as I have been able to put into it (or harvest from it), it still offers some great rewards.  Like whenever I look out my kitchen window and "catch" the kids snacking on strawberries.  Although I got very ambitious about my garden for a bit and later disheartened that I didn't come close to reaching my vision, getting to watch my kids forage is a pretty great reward in itself.

Wednesday, August 11, 2010

Making sad tomatoes happy again

It has been a tough few weeks in my garden.  Mostly I haven't found a lot of time to be there.  It's funny how gardening has become like exercise -- you forget how much you enjoy it until get a chance to do it again....

Lately my garden has me worried because everything seems to be growing behind schedule (and what else can you expect in a cool summer.)  I was particularly worried about my tomatoes above.  I thought they caugh tomato blight because the leaves were drooping and yellowing.  I started removing damaged leaves and contacted the hotline at Seattle Tilth for confirmation.  They surprised me by writing back that they thought it might be an iron deficiency due to an inability to take up water.  (The darkened veins and the yellowing from the edge inward led to the diagnosis.)  Well, it sounds like a more optimistic prognosis to me!

So today I finally got back into the garden.  As they recommended, I added an inch of compost to my pot (mushroom compost was what I had handy.)  I sprayed the leaves with kelp water to fertilize.  And I added coffee to the soil.  Seattle Tilth recommended adding coffee grounds -- but all I had was some unused, unwanted ground coffee.  Hopefully, the plants will make a great turn around and I will see no more yellow leaves while the fruit ripens.

Saturday, August 7, 2010

Good bugs

And thank goodness, because I left these two alone....  These soldier beetles eat soft-bodied insects including aphids, catapillars, and slugs -- all known to frequent my garden.  I am glad to see some soldier beetles consider my raised bed home.

Sunday, August 1, 2010

Wet and dry gardening

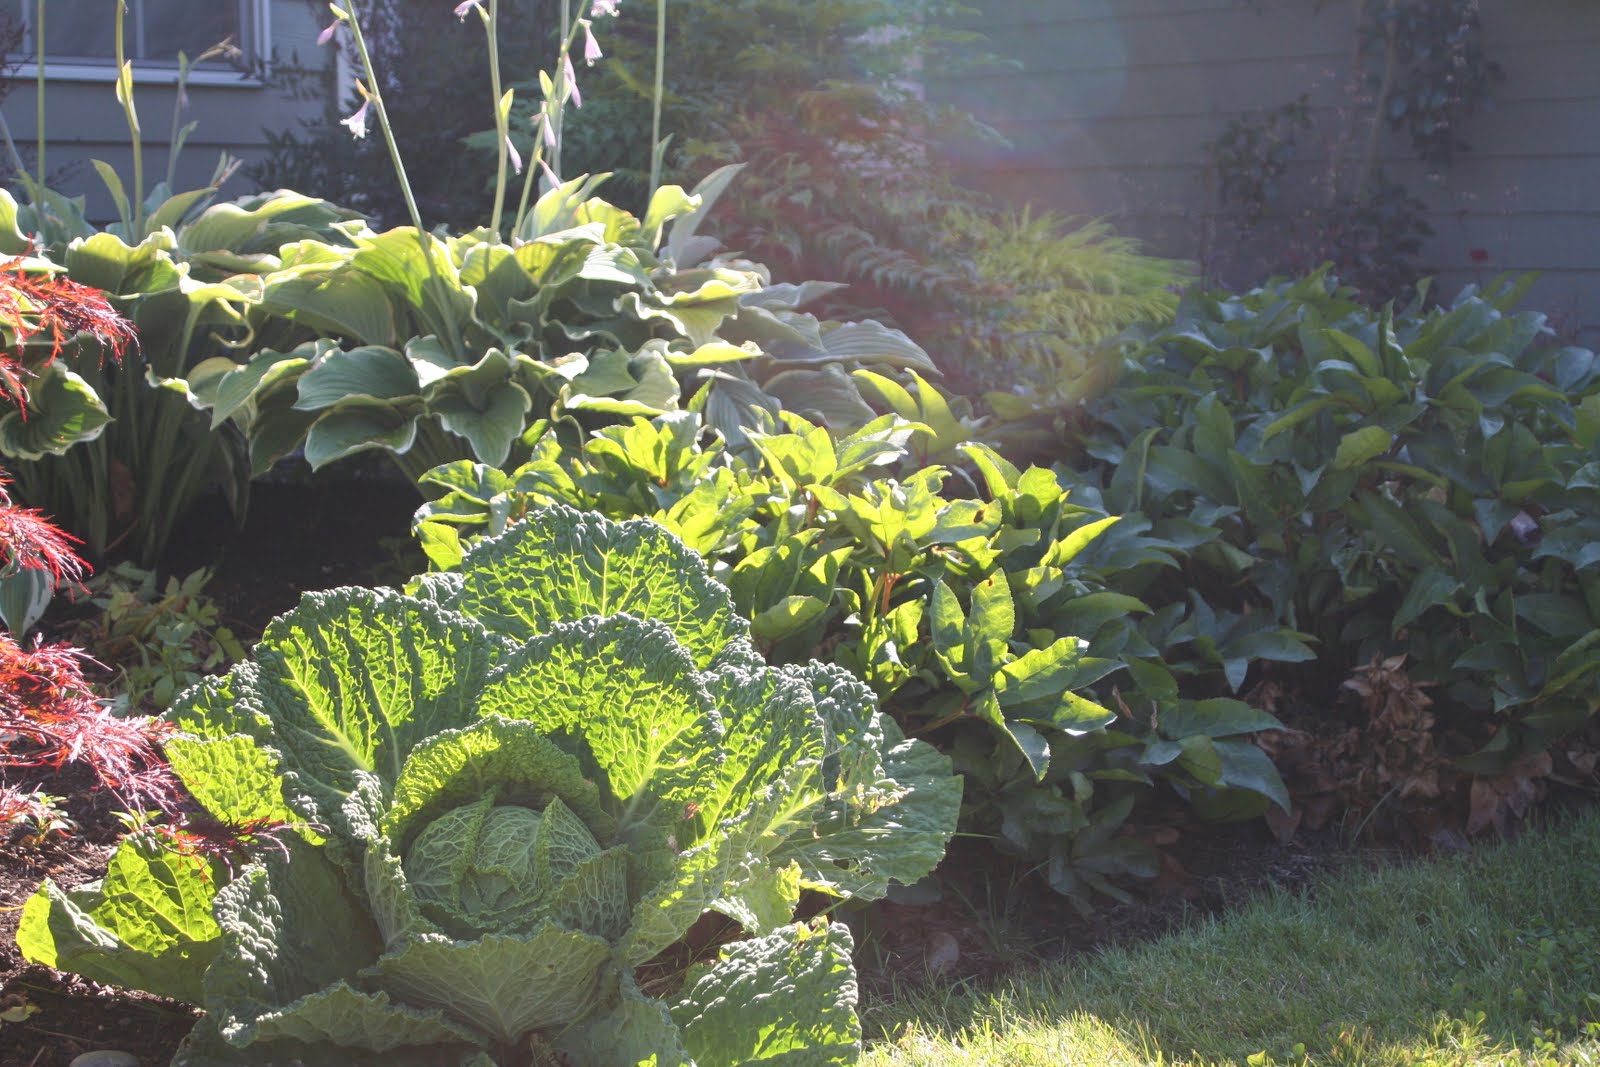
I have been harvesting cabbage since my return -- and it finally dawned on me that I was seeing something pretty special.  I bought a six-pack of cabbage starts at Seattle Tilth's spring sale.  The ones that didn't fit in my raised bed I added to my ornamental bed in the front yard.
The difference between my raised bed and my ornamental bed is water.  The ornamentals get none -- I designed it to be drought tolerant and haven't watered it since the first year it was planted.  The difference between the cabbages is visually clear.  The well-watered raised bed cabbage is smooth.
The un-watered ornamental bed cabbage is heavily "savoyed." 
If you click the savoyed cabbage image to get the larger one, you can see why.  The wrinkles and crinkles catch water and hold it (sometimes all day.)  The watered cabbage doesn't need wrinkles because it gets what it needs from the soil.

Thursday, July 29, 2010

scaredy cat farmer returns

I am back after a two week vacation in AZ.  Sorry to disappear with out warning, but it seemed wrong to announce I was abandoning my home on the web. 

Predictably I returned to a bunch of bolted produce.
I have managed to clean out the beds and am hoping to get some winter starts in this weekend. 

Wednesday, July 7, 2010

who stole the apples?

I found two of my makeshift applesox in the grass this week -- and the apples were gone.  I have lost half my crop.  I am thinking whoever left these tracks on the kids' picnic table is the answer....
Could it be a racoon?  If it is, I am sure this garden predator won't have a chance of taking him out.

Monday, July 5, 2010

self-watering containers

Today I made self-watering containers, from scratch.  I put them out on my deck next to my EarthBox Ready-to-Grow kit -- which I put together at the start of June (blame the cool weather -- we still haven't reached 80 -- and my fear of fertilizer for the limited growth of my plants.)
If you look online, you will find a lot of advice on how to make self-watering containers using 5-gallon food buckets or 15-gallon plastic storage bins.  I took that advice and tricked out a Home Depot plastic pot because I wanted something a little prettier for my deck.  I wound up with the kit for expediency's sake.  I had tomatoes that needed planting and all my supplies last month -- but no will to move forward with my project.  The EarthBox kit was very easy.  The hardest part was pulling the sticker off the perforated base that separates the soil from the water.
I think the EarthBox kit was also less expensive than my home-made version was for the same growing space.  But I stand by my project.  My self-watering pots are cuter....

So here is what it took to make them:
  • 2 plastic containers
  • 2 Ups-A-Daisy planter inserts
  • length of PVC pipe
  • a power drill with router and drill bits
  • cotton string to use as a wick for the water
  • 2 cubic foot bag of potting soil
  • dowel and styrofoam balls to make water indicator
This is how my helper and I put the pots together.  After enlarging one of the holes (so the PVC could fit), we put the Ups-A-Daisy insert in place and ran 4 strings from top to bottom.  We added a length of PVC (cut at angle at the bottom -- you could also just drill some holes in it so the water can get from the top to the bottom.)  Next I drilled some small overflow holes into my container so I wouldn't have to worry about flooding.  Then we filled our pot with water up to the insert (the EarthBox kit suggested this -- my guess is it helps keep the soil from falling through the holes.)
Then we added potting soil and plants, moved the wicks toward the center, clipped the wicks, and finally covered the wicks with additional soil so they wouldn't dry out.  (Please send happy thoughts to the poor pepper plant below....)
Finally, we made our water-level indicator by putting a stryofoam ball on the end of dowel and clipping it until it fit just inside the PVC pipe.   
Now I know if the dowel does't float to the top, I need to fill the container. I also will put a little landscape fabric cap on my pipe to keep water-breeding bugs out of my pot -- I don't want to have dinner with them on the deck.

I am hoping these fancy pots will give my container garden a fighting chance with my chaotic life.  Now I just need to figure out how to fertilize appropriately....

Saturday, July 3, 2010

wireworm trap

This picture shows my wireworm trap in action.  I stuck a number of full-grown carrots throughout my raised bed.  I pull them up and check for takers.  Wireworms are not very fast.  In fact, they often "play stick" when pulled up in the trap.  I usually take my time and cut them in half with an old plant description stick. 

I felt silly using good carrots as bait -- but they have lasted a couple of weeks already and don't show much sign of decay.  I hear you can bury potatoes too but I haven't tried it yet.

Thursday, July 1, 2010

using my new pest knowlege

I took a class last weekend on pest management in the garden through Seattle Tilth.  Walked away with a better appreciation of Integrated Pest Management -- and a curiousity about my weeds and flowers.

In IPM, prevention is the first strategy.  And a gardener must realize that there is no such thing as perfect.  A few holes or bad bugs doesn't mean failure -- it means you are part of something alive.  A gardener using IPM must be patient.  Live with the 'bad things' and make sure they are bad before acting.  This keeps you from applying a solution that is worse than the problem. 

I found these leaves in my raised bed -- but I don't know what is causing the problem, so my strategy is to OBSERVE until I do.  See, I am not too late.  I need time to understand (or to learn so I can understand.)  If the damage spreads quickly to other leaves, then I will act fast.  If not, I am free to dawdle. 
In the meantime, I can pick on the things I do understand.  Practicing IPM means spending more time looking at your garden closely.  The big things are obvious when they arrive.  
But the little things are there too.  This catapillar I found on on a piece of bark that made it into the raised bed.  Its color was so unusual (to me) that I took a picture of it before I squashed it (too close to my cabbage.) 
By looking closely I also found this guy.  Turns out it is a stink- or a shield-bug (it took a lot of internet research to figure that out.)  How did I make it out of childhood and not know that?!   I wasn't sure what to do about it since I kept seeing online that it likes to eat hawthorn leaves until I found this page that said it was happy eating any broadleaf plant.  Since I found it on the trellising above my struggling (hole-y) bean plants, I got rid of him.
The first 'aggressive' IPM strategy is physical control -- which includes making barriers and handpicking offenders.  I found the four slugs below under the wrapper leaves of my cabbage.  Clearly garden pests, they did not survive the shoe test.
 
I was really worried that all the holes in my cabbage leaves would mean the heads would be teaming with worms -- but they were beautiful once I opened them up.  I am wondering if all the damage was done by slugs and not the offspring of the white moth I saw in the yard.  But the slugs don't explain all the tiny poop I saw.  The next step in IPM strategy is to introduce natural predators to your garden -- maybe I got lucky and some good bugs took care of the (possible) cabbage maggots for me.
The last strategy for eliminating pests using IPM is employing a chemical control.  The tip is to always start with the mildest remedy -- such as soap spray.  And then make sure your soap spray is made out of a mild soap like Doc Bronners if you want to keep you veggies as healthy as can be.
Finally, I figured out that I am going to have to learn a lot more about bugs and plants before I really understand what is going on in my yard.  There is a lot to know about bugs (good and bad) and their lifecycles.  There is a lot to know about plants -- what I want to eat, what good bugs need to thrive, and what a weed's location might say about soil.

Friday, June 25, 2010

seed starting again

My seeds arrived from Territorial and I am back to seed starting again.  I am a bit surprised to be here so soon -- especially given my poor results this spring -- but the seed packet for the brussels sprouts demanded I give it another try.  "Erratic seed germination makes direct sowing difficult?!"**
This time I went with peet pots.  I enjoyed seeding with peat pellets in the spring but I didn't like what I saw at harvest time.
Poor little guy couldn't bust through the pellet (of course, it was probably a bad choice to put a beet in one of these in the first place.)

As for my brussels sprouts, I am going to put some seeds directly into the ground and cross my fingers.  And I am going to do my best to nurture the ones in my peet pots.  But my fingers are crossed for those ones too since I have never gotten a seed start to 4 inches before.  Here's to crossing the 2 inch mark!

**Update**  "A clue, a clue," -- anonymous child on Blues Clues. 
Over at digginfood Willi Galloway explains that warm temperatures during summer make direct seeding iffy because the seeds/sprouts might dry out in a warm spell.

Monday, June 21, 2010

highs and lows in the garden

The kids found some strawberries in the yard.  They were pretty pleased with themselves.  Picked them without asking and then ran inside to show off their treasure.
I also found my own treasures in the yard.  Tonight I made a soup featuring fennel and chard from my raised bed.  It turned out to be rather tasty.  And I was pleased that I made good on my desire to eat more veggies today.

In the harvesting though I ran into one of my arch nemeses: a wireworm (visible on the railing next to the bulb beneath the hole it was creating on the root.)  Wireworms are known to eat roots and stems.  Thank goodness it wasn't interested in the bulb or my dinner would have been blown....   
I wound up bagging it so I can take it to a garden pest talk over the weekend.  I am wondering if the slow growth in my raised beds is due to wireworm damage -- or just a general lack of sun and heat.

Saturday, June 19, 2010

drawn in by the winter catalog....

I've been feeling a bit low lately about my gardening prowess.  It is certainly limited.  Something has been foraging for my pea seeds -- and it seems that I have allowed catapillars/cabbage worms/loopers to get the best of my cabbage.  There are now holes that dig into the core of head and plenty of poop to go with it.
According to the Territorial Seed catalog, I should have sprayed with Bacillus thuringienses at the first sighting of a moth near my plants (which I saw weeks ago, but did nothing more than fret about.)  Since I delayed, I can try baiting the cabbage worms with wheat bran soaked in BT solution.  I will probably try that if I can find some time next week -- and see if it makes a difference.  I hate seeing potential food turn to waste but I have a limited tolerance for bugs in my food.

I was griping to my husband about what a failure I am turning out to be as a farmer and he reminded me that I am just starting out and that we would all pay a lot more attention to keeping the crops healthy if we were actually dependent on the food.  Which is true.  And I realized that I got into this adventure because I wanted my family and I to eat more veggies -- and that gardening isn't a great way to eat more veggies.  Eating veggies is a great way to eat more veggies. 

So it is time to separate the veggie eating goal from the garden.  I can address the veggie eating goal by changing what I buy at the food store (and supplement with the few edible suprises I produce as I gain gardening skills.)  And in the meantime, I should admit that I am enjoying the garden in itself because I like learning how the plants grow and what pests to look for and what works where.  And I hope I will feel a lot more successful if I let the garden be just about gardening, learning about nature, and exploring my relationship with it.

So I decided to go ahead with a winter garden and ordered more things from Territorial Seed.  Turns out I am a sucker for things purple and red.  I have been really curious lately about mixing edibles and ornamentals.  I think most of these things (maybe not the carrots) are great candidates for the front yard.  Four things I will be trying this fall are:

Sunday, June 13, 2010

welcome guest

After weeks of watching aphids and holes emerge and re-emerge in my raised veggie bed, I finally spotted a good sign: a lady beetle.  Help is on its way!  I hear ladybugs are great eaters of aphids.

Ironically, I also saw my first ant in the garden today too.  Ants are known to protect aphids for their honeydew. 

So let the battle begin....  I know which side I am rooting for!

Culprit?

My kindergartener says this mammoth slug looks like a really dirty chocolate kiss.  It was larger than a bouncy ball from a gumball machine -- but not as big as a kiwi. 

Definitely large enough that I was afraid to smoosh it.  It is the largest slug I have ever seen in my yard.

Saturday, June 12, 2010

holes, holes, holes

This week I read Louis Sachar's novel Holes.  It is a great read.  I highly recommend it if you are looking for a quick summer splurge book -- even if you don't fit into the teenage boy demographic the book was created for. 

In the book, there were a lot of holes.  Holes to dig, holes to be dug....  

And it turned out that when I returned to my garden, there were a lot of holes there too.


I haven't been a vegetable gardener long enough to know if this is okay -- or if my crops have been doomed to failure just as the weather has finally got warm enough for things to start growing fast.

Sunday, June 6, 2010

back from camping ...

... to discover that the melons and squashes I planted have sprouted.  I was afraid I was going to have to replant the entire patch -- but most seem to have some growth going (though one sprout was detached from its root -- how and why I don't know....)

Now the little guys just have to grow to fill in the trellis I made for them.
I wanted them to go up rather than out so I made a structure out of premade cedar trellising and steel fence stakes.  As a young woman I used to make fence for the Forest Service (among other things when we weren't fighting fires.)  It was a real pleasure to get one of those fence pounders back into my hands...